3 Simple Tricks That Will Help You Lay Tiles Easily
Are you planning a kitchen or bathroom renovation? Those spaces are typically dominated by tiles, which are very practical and durable material. Tiled floors and walls have many advantages - they are easy to clean and do not get permanently stained. Thanks to the broad choice of tiles available on the market, they can fit any interior - regardless of its style. Nevertheless, what scares many homeowners is laying the tiles. Does one need to hire a professional? Not necessarily! In most cases you can decide to lay tiles yourself - our tips and tricks will help you.
Laying tiles - not as difficult as you think
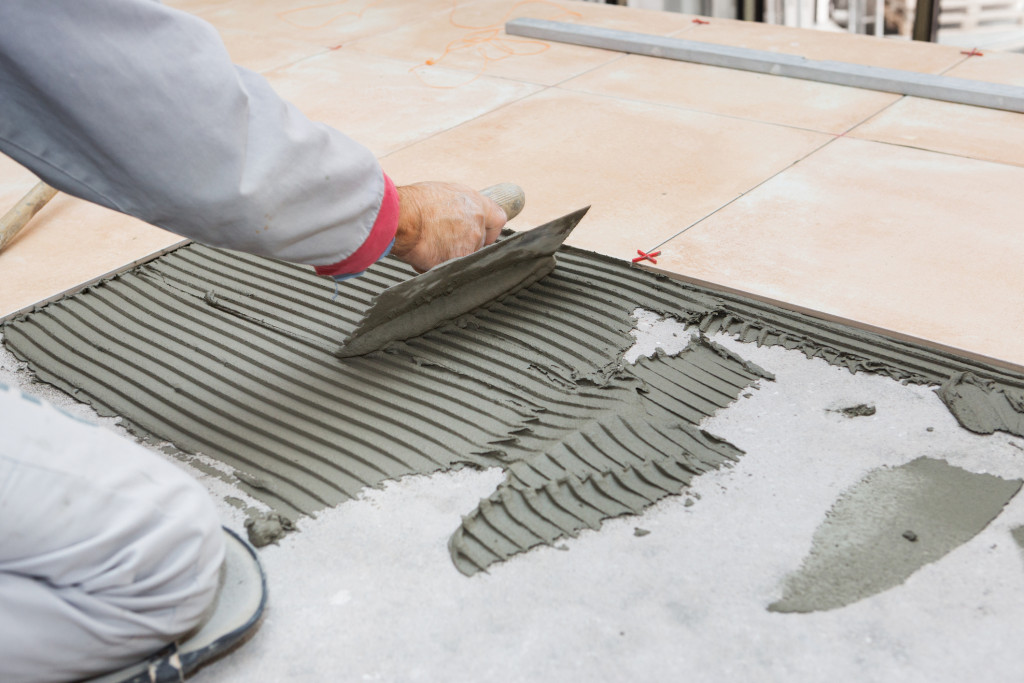
Laying tiles - both on the floor and on the wall is not that difficult to do. Proper preparation is key. It concerns both the surface which is going to be tiled, as well as the equipment you are going to use to help you with the task. If you’re wondering how to lay tiles - this guide is perfect for you. In 3 easy steps you can learn about the most important stages which will prepare you for laying tiles.
Before you start tiling the floor or walls - prepare the surface
The grip to the base, as well as the durability of the tiles depend on the proper preparation of the surface one is going to work on. It concerns both floors and walls.
Most importantly, the base for tiles should be even. Preparation of the surface in this regard is typically conducted at the earlier stages of finishing an interior - especially in new buildings. If the room is being renovated, the surface might require smoothening - some bumps and dents might have been formed with removal of the floor or wall covering.
What to do in such a case? Leveling the surface before tiling is not a complicated issue and you can easily do it e.g. using a self-leveling compound designed for this purpose. After mixing the mass by following the manufacturer’s instructions, it should be poured onto the areas that need leveling. You can use a special rubber trowel to reach the corners of the room.
When leveling the walls, keep in mind that the compound mass should be thicker so that it doesn’t slide off the surface it has been placed on.
Priming before leveling
In most cases the surface does not need to be primed before using a compound to increase its adhesiveness. However, it is recommended if you have a particularly absorbent ground. How to check it? You need a sponge. Soak it and press onto the surface you are going to tile. If the water gets absorbed pretty quickly - consider priming the surface.
Removing dirt
If the surface you are going to tile is full of the previous layer residues or various kinds of dirt - make sure to remove them. The same applies to greasy stains and residues from unknown liquids.
How to tile floors and walls? Choose the right technique!
Choosing the right method is a two-dimensional issue. First of all, it affects the difficulty level of the task. The easier the pattern - the easier tile laying. On the other hand, complicated, non-obvious patterns are the most interesting ones.
Laying tiles for beginners
If you are a beginner and you are laying tiles for the first time in your life, choose a simple technique. In this case, the best method is laying tiles in a parallel fashion. You can begin in the middle of the room and continue placing the tiles towards the external sides. Even if you have to cut a tile - it will not be visible at the sides, as they are usually covered by furniture and other decorative elements.
Complicated patterns - how to tile the floor without errors?
If laying tiles is not your strength but you accept the challenge regardless and want to create an interesting interior - we have a tip for you. It will help you avoid surprises and mistakes. Try laying tiles “dry” - without glue. It’s nothing else than planning the tiles arrangement on the floor. This way you can check whether the elements fit each other well and, if needed, make some changes. This way you will not risk breaking the tiles and wasting the material. After laying the elements, you can take a photo, which will guide you how to glue the tiles. While it is definitely time-consuming, you can be sure that nothing is going to surprise you.
Easy tiling? It’s a matter of good equipment
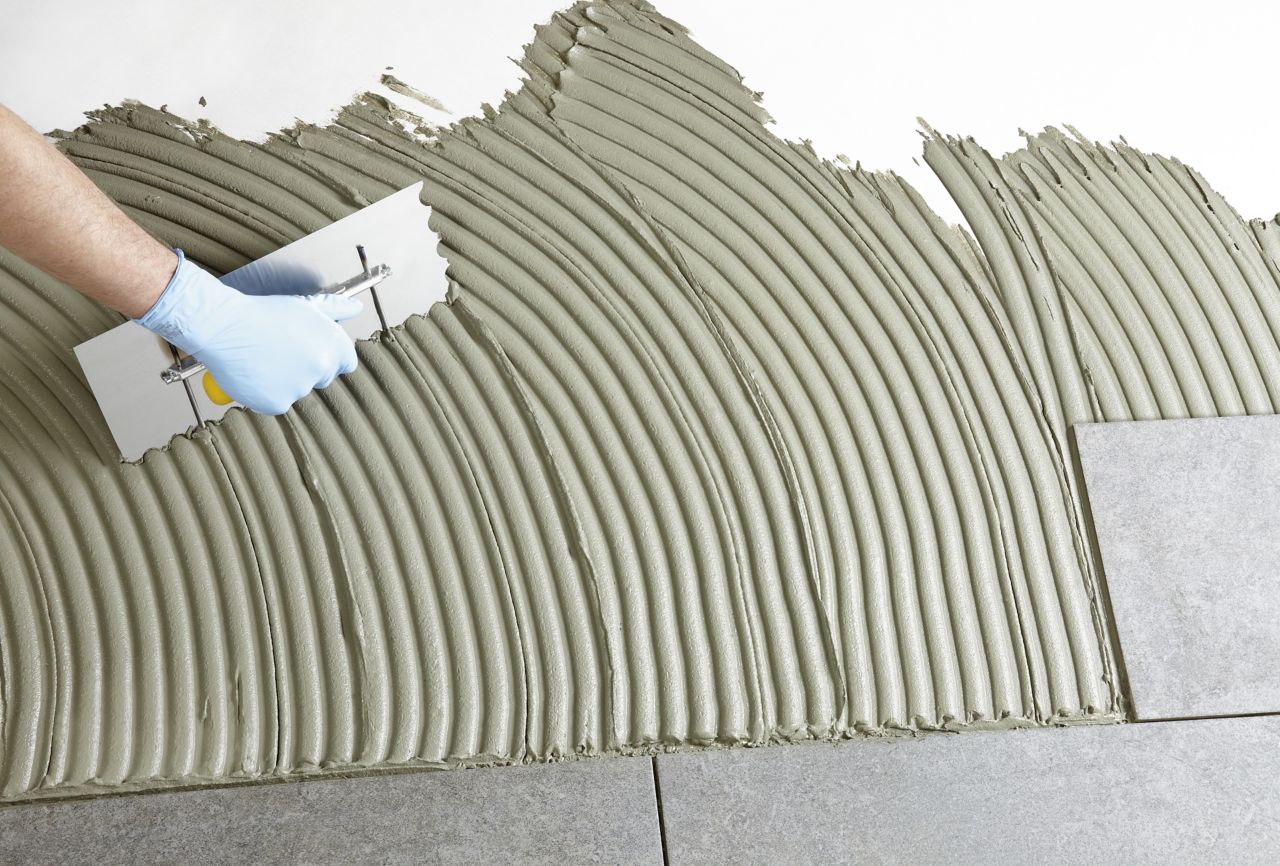
Tiling floors and walls requires using proper accessories. Various types of trowels are the basis - they will help you with laying the tiles, and later - grouting.
The adhesive is also important - it should match the types of the tiles. Substances of this type have various adhesiveness classes. The glue should not only comply with the material of the tiles, but also their size. A special quick-drying tile adhesive is an interesting option which reduces the time of work.
When grouting, you might also use a special bucket with rubber rolls for draining the trowel.
A modern look on laying tiles
Up until recently, a level and spacers were the basic equipment used for laying tiles. Thanks to those tools, one could lay tiles evenly and precisely. Today, however, those elements are rarely used.
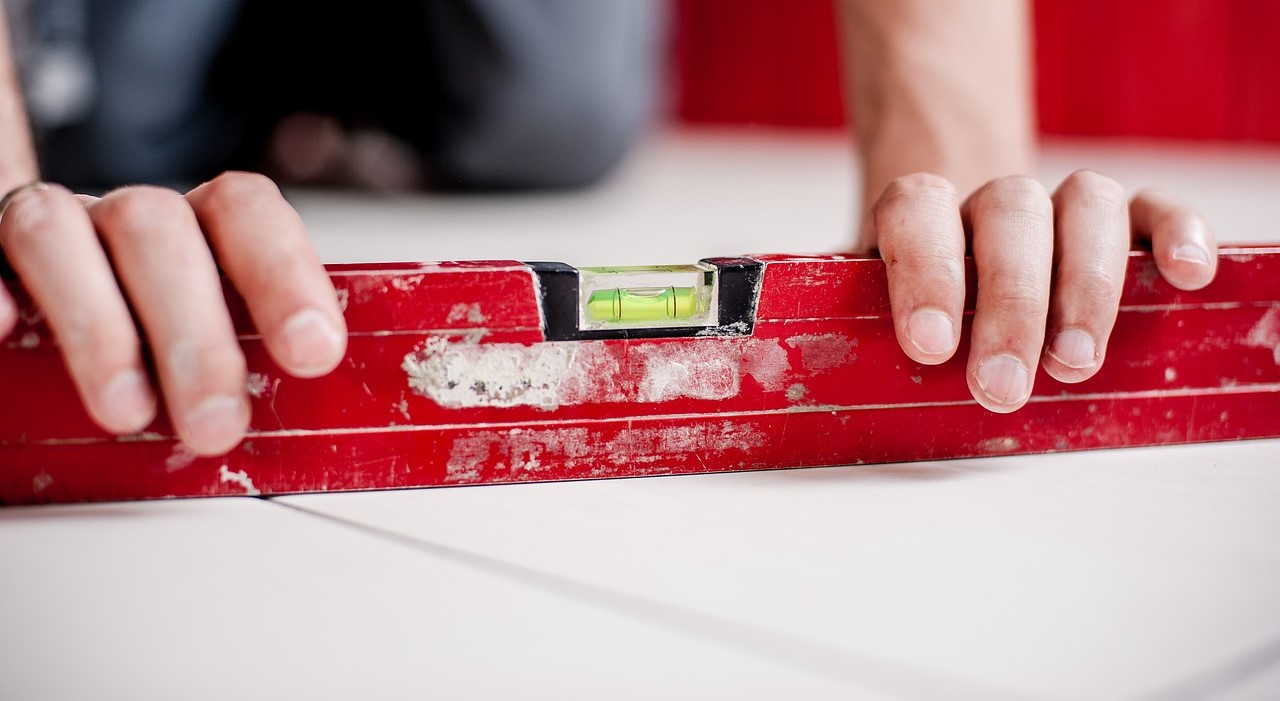
Recently, a new kind of equipment has been utilized, both by professionals and amateurs - tile leveling system. The clips and wedges which are components of the system help to keep an even spacing between the tiles and also they allow for quick leveling of the surface. Thanks to this method, tiling a room by yourself is not only very precise, but, more importantly, far quicker. As stated by experts who lay tiles daily, the task might be done even twice faster than usual.
📍 How to tile walls?
Begin tiling your walls by preparing a careful plan on how they should look like. Make sure you have enough tiles and all necessary tools. Then clean the surface, prepare the adhesive and beging tiling. Start from the spot which is the most visible upon entering the room.
📍 How to tile floor?
Tiling both the floor and walls looks quite similar. Preparing the surface is the most important step, as well as gathering all the necessary equipment. If you have everything, just choose the right technique and start laying the tiles - beginning at the most exposed spot.

